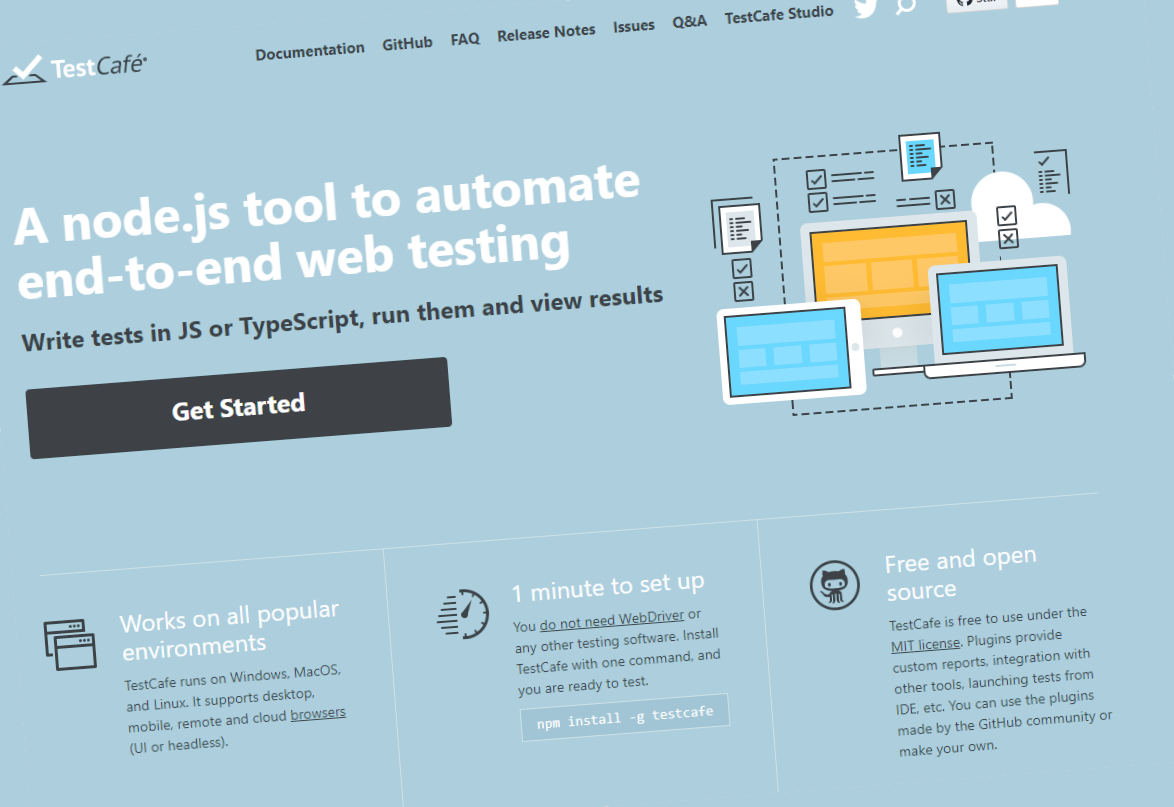
TestCafe is a web application (or website) testing tool. It's designed to automatically test websites from a user's perspective. This paradigm is key to the effective use of TestCafe; a common objective for TestCafe is to test website features through the lens of the user while also ensuring that the business objective is achieved.
The focus of this article is to introduce those unfamiliar with programming and software components to the magic that is TestCafe. The goal is that stakeholders of all types (traditional QA, product owners, engineers, etc..) can benefit from TestCafe.
This series of articles focuses on real-world projects. By the end of this series you will be able to evolve your test suite with a real target application in mind.
Why TestCafe?
A unique aspect of TestCafe is that it is self-contained. It does not have dependencies on Selenium (which has dependencies on Java). The biggest advantage here is that the development and execution environments are straight forward.
Dependencies
TestCafe does require Node JS to run; you can download and install it from the home page [https://nodejs.org]. There are two versions. Best practice would be to use the "LTS" version which is the Long Term Support version. That said, either will work fine.
Node.js comes with an installer for the appropriate platform (it supports Windows, Mac OS X and Linux). Follow the install instructions as appropriate.
Once the install is done, you should be able to test the installation with the following command in the command prompt / terminal: node --version .

This command asks Node to print out the version installed. The exact number doesn’t matter as long as there is no error.
Note: We'll be working in the command/terminal window throughout this article.
When you install node, it also installs the Node Package Manager which is abbreviated as npm. We’ll be using this command in the following sections.
Initial Setup
First, we'll go through the basic setup for a new project. The assumption here is that testing is being done on a basic web application with only support for chrome. Please ensure Chrome is installed.
Note: TestCafe supports all major browsers, focusing on Chrome helps narrow the scope of the article.
Let’s get started!
Create a folder to hold the project. The folder should be empty. In this example, it is placed it at c:\git-repos. In the folder testcafe-example and thus the full path is c:\git-repos\testcafe-example. For reference, you can view the complete project at github.
Next, on the command line/terminal run the following command, this establishes the project. This only needs to be ran once.
npm initThe command will prompt you with questions. Accept the default for each question by hitting Enter.
Once completed, the folder will contain a new file called package.json; this file indicates that the folder contains a “node package”.
The next step is to add in TestCafe as a dependency. In the command/terminal window enter the following command: npm install --save testcafe. This asks npm to download & install TestCafe and add it to the package.json. Once it completes, the output should resemble the screen print below. Note: The numbers may be different.

Review of the TestCafe Folder Structure
When you look in the folder, you’ll notice a new file and a new folder. The node_modules folder holds the dependencies — testcafe. The package-lock.json is the file. Neither should be changed.
The final step is to create a JavaScript file that serves as the entry point to the application. If you accepted the defaults during the npm init command, the file should be created as index.js. Create this file in a plain text editor.
Note: Examples of a plain text editor would include: Notepad, Notepad++, Visual Studio Code, Atom. MS Word or other word processor software will not work, they create the wrong type of file.
Save the empty file. We'll add content in a moment.
At this point, the folder contents should look like the image below. Note: The icon on the index.js may be different.

The index.js file is the entry point to the tests. It will contain code to initialize the test suite and start the testing process.
Add the following to the index.js file. We'll briefly highlight some points of interest.
const createTestCafe = require('testcafe');
const log = console.log;

createTestCafe('localhost', 1337, 1338)
    .then(testcafe => {
        const runner = testcafe.createRunner();
        const remoteConnection = testcafe.createBrowserConnection();

        runner
            .src('./tests/**/*.js')
            .browsers(['chrome'])
            .reporter('list')
            .run()
            .catch(error => {
                log("   An unexpected error has occured: ", error);
                testcafe.close();
        	}).then(r => {
            	testcafe.close();
        	});
});Note: The setup looks different then the official website documentation as here we have taken a "self-contained" approach to setting up TestCafe which I earnestly recommend for real world projects.
Breakdown of index.js
This file contains the bootstrapper; it's the first file executed when you start the test suite. Points of interest are the .src('./tests/**/*.js') and .browsers(['chrome']).
The src indicates where your test files are. The * is a clue to the system to search all folders (including folders in folders) for any files with .js at the end. The browsers is a list of browsers to test the website on. This is what you'd modify to include other browsers in the test execution.
The Test Fixtures
TestCafe utilizes what is known as test fixtures; each test fixture contains one or more tests. Test fixtures can be broken down in a variety of ways. The structure shared here is one of many ways to lay everything out, a straight forward but practical approach to this setup.
Under the test directory, a subcomponent folder is created. The subcomponent is logical grouping of the web application that is being tested.
For example, you might have a folder called reports, signup and admin. This organization is more of an art then a science but you can move around test fixtures as you see fit. As long as everything is contained in the tests folder, the system will find the tests.
For the purposes of this article, here is a layout:

The First Fixture
Let's create the first test fixture; it won't do much but will allow you to see TestCafe in action. As suggested above, create a subcomponent folder in the tests folder. Inside this subcomponent folder, create a file called basic.js. In this file, add the following contents and save:
import { Selector } from 'testcafe';

fixture `Getting Started - The Open Source U`
    .page `https://theopensourceu.org/`;

test('My first test', async t => {
    // Test code
});
test('My second test', async t => {
    // Test code
});
Test Run
Once the file is created we can test our setup by executing the following command. Your command window should be in the folder you are placing your files into. In this case, it would be C:\git-repos\testcafe-example.
node index.jsA successful run looks like this:

Next Time
In the follow up article, we'll look at the details of writing tests in TestCafe including writing our first purposeful test.